Create, Updating, and Deleting
To learn about creating, updating, or deleting ticket categories, visit Managing Ticket Categories.Staff Commands
Below is a list of Fyre’s staff commands for tickets. All of these commands are text and slash commands.In brackets is the default usability of the command. This can be changed on a per category basis.
-
/add- Add a member to the current ticket (ticket owner or staff). -
/remove- Remove a member from the current ticket (ticket owner or staff). -
/claim- Claim a ticket as your own (ticket staff). -
/release- Release (un-claim) the ticket and allow other staff to claim it (ticket staff). -
/move- Move the ticket to a different ticket category (ticket staff). -
/transfer- Transfer the ticket to a different owner (ticket owner or staff). -
/ticket-vc- Create a temporary private VC for ticket members (ticket staff).
Category Roles (Ping, Staff, Required)
With Fyre you can have up to 10 roles in each related field per category. To manage category roles, use/categories roles add and /categories roles remove.
Ping roles are the roles that Fyre will ping when a ticket is opened, or when a ticket close request is made.
Staff roles are the roles that will be able to see all newly-created tickets, and manage them.
Required roles are roles that a member must have before opening a ticket in a specific category.
With Fyre, a member must only have one of the required roles to open a ticket in a locked category.
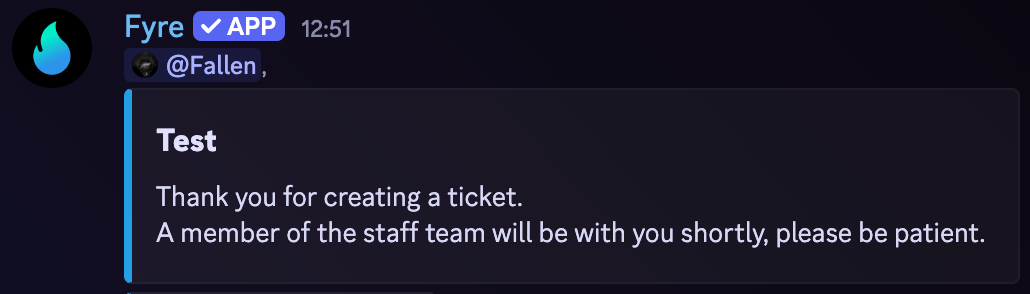
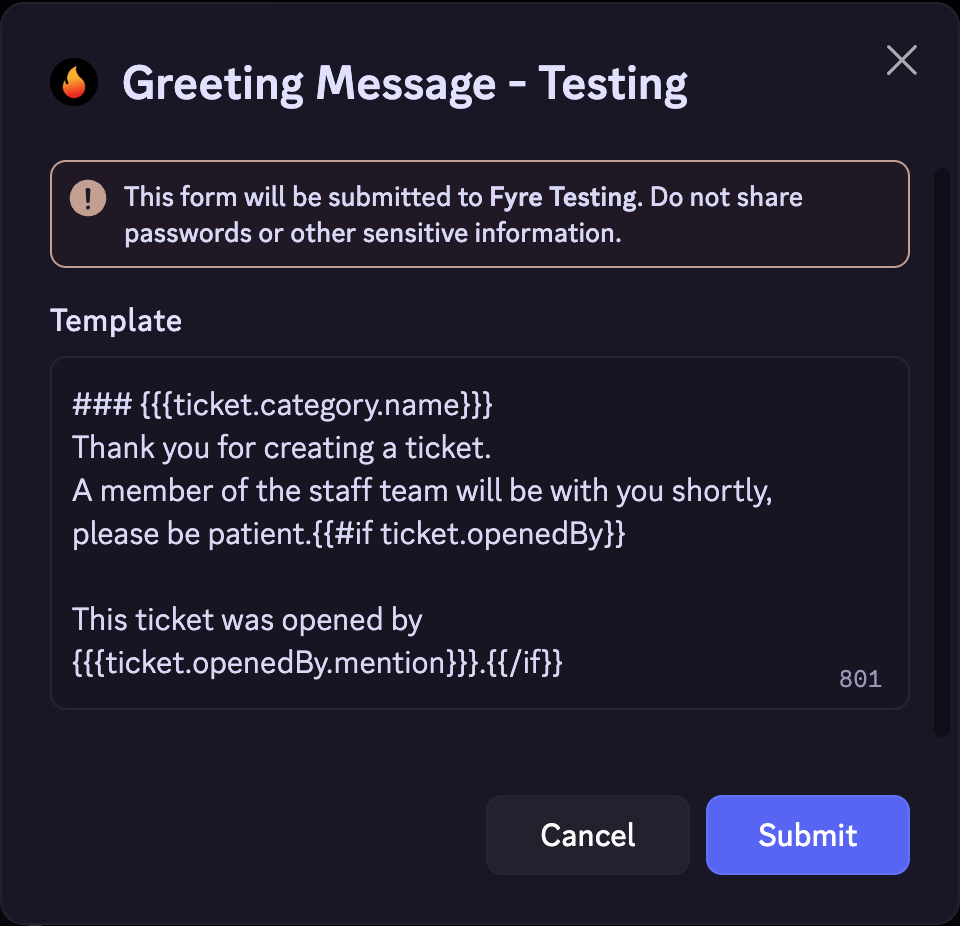
Greeting Message
You can customise Fyre’s ticket greeting message quite extensively. To update a category’s greeting message, use/categories greeting.
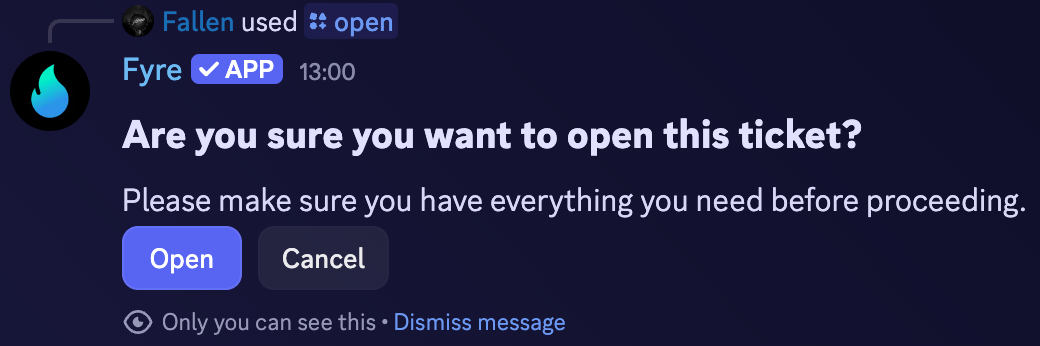
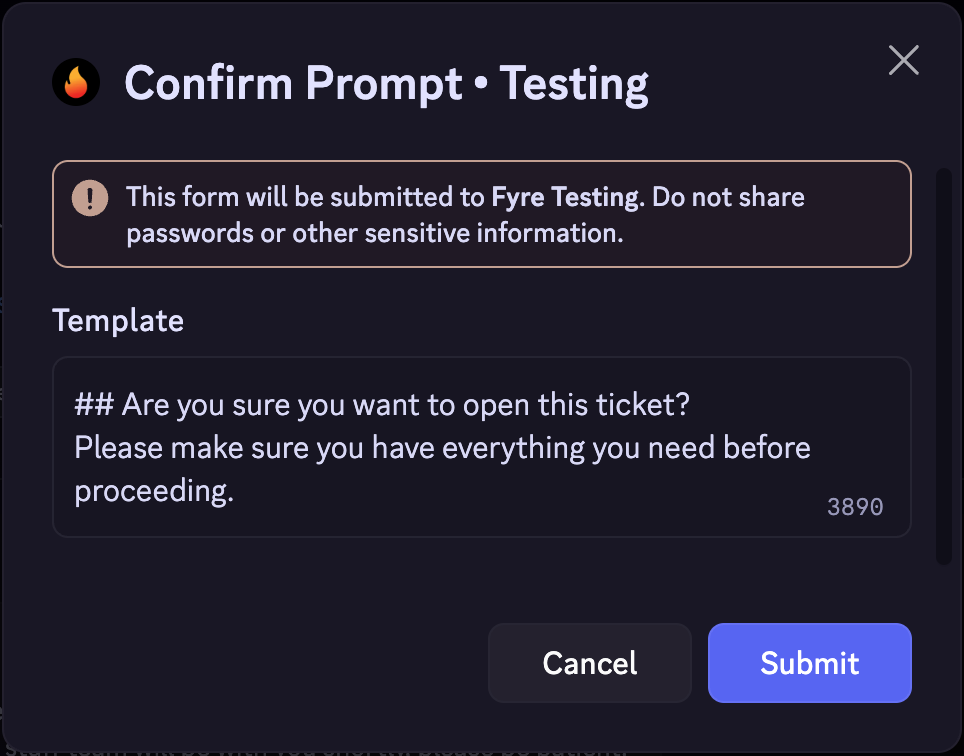
Confirmation Prompt
All ticket categories have an optional confirmation prompt that is disabled by default. You can use this prompt to make sure users have required evidence, are ready to open a ticket, etc. Users will be shown this confirmation prompt whenever they attempt to open a ticket via a ticket panel or the/open command.
/categories confirmation.
This command support the following options:
category- The category ID to update (autocomplete).enabled- Whether the confirmation prompt is enabled for this form (Yes or No).delay- The delay in seconds a user must wait before starting the form (default: none, min: 5, max: 30).mode- The mode for displaying the confirmation prompt (Plain or Container, default: Plain).
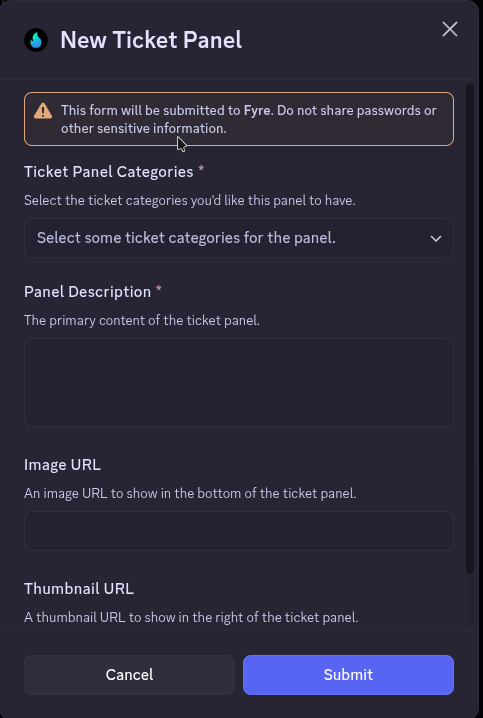
Creating Ticket Panels
Ticket panels allow your users to easily open tickets without using/open.
These panels can have buttons or a select menu for members to easily start form submissions.
To create a ticket panel, use /ticket-panel. This command supports the following options:
type- The type of panel to create (Buttons or Select Menu).channel- The channel to send the panel in (text channels only).colour- A hex code colour to use in the panel.button-name- The name of the button if you’re making a one button panel.select-menu-placeholder- The placeholder text in the select menu if you’re making a select menu panel.